
How to Grow Cannabis at Home: Real Thoughts on Evde Esrar Yetiştirme
Read Time:5 Minute, 4 Second
If you have ever thought about growing cannabis at home, you’re probably curious if it is worth the effort. I had the same thought once. Turns out, it is not as hard as people make it sound. Sites like Tohumsuz Esrar have made it way easier for beginners to figure things out step by step. You do not need to be an expert. Just a bit of patience and the right setup.
Why Even Grow at Home?
There are a few reasons people get into Evde Esrar Yetiştirme. Some do it for fun, others for quality. Personally, I like knowing exactly what I am using.
When you grow your own cannabis, you know what goes into it. No chemicals you cannot pronounce. No hidden stuff. You see every part of the process yourself.
It also saves money. At first, yes, you will spend a little on lights and soil, but later it really adds up. A few months in, you will notice you are spending less and still getting the same (if not better) quality.
And honestly, it is pretty satisfying. Watching your plants go from tiny green sprouts to full, healthy ones is something special. You start to care for them like they are part of your daily routine. The first time you harvest, you feel proud. That is what gets most people hooked.
Another thing is what you learn. You end up knowing a lot more about how plants grow, how light affects them, how temperature matters. It is not just about cannabis — it changes how you look at gardening in general.
Picking the Right Seeds
This part matters a lot. When you start Evde Esrar Yetiştirme, picking seeds is like choosing the type of plant personality you want.
There are three main kinds:
- Indica: Short, strong, more relaxing. People often say it helps them wind down after a long day.
- Sativa: Taller, thinner leaves, more energetic effect. Some say it helps them focus or stay creative.
- Hybrid: A mix of both. Balanced.
Tohumsuz Esrar has info on each type, which can make it easier to decide. Just think about your space and what kind of vibe you want from the final product.
Getting Ready to Grow
You do not need a fancy setup, but you should get a few things right.
1. The Growing Medium
You can grow in soil, coco coir, or even hydroponics.
Soil is the easiest if you are just starting. It has nutrients already, and it is hard to mess up. Coco coir is a mix made from coconut fibers — it drains well and keeps roots healthy. Hydroponics is when you grow in water. It is faster, but it takes more monitoring.
You can find guides about each method on Tohumsuz Esrar. Try one that feels manageable first.
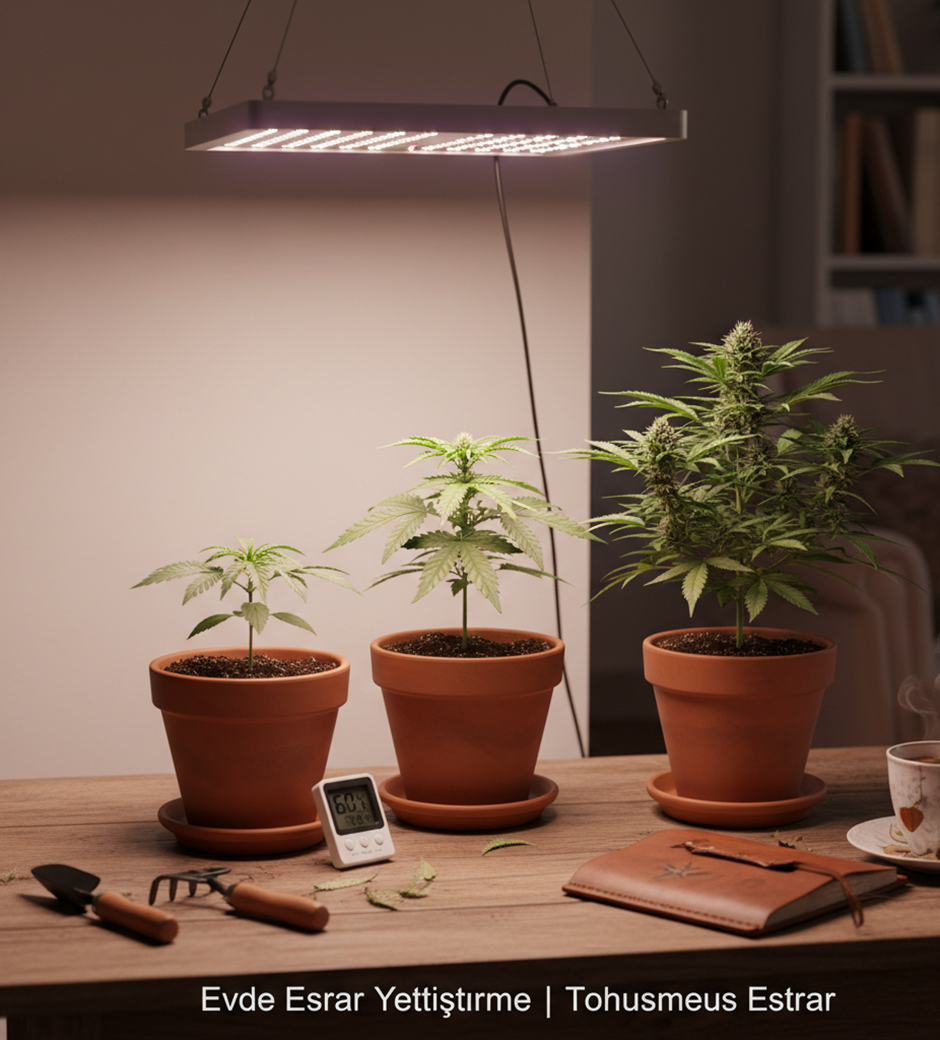
2. Light
If you are growing indoors, light is your sun. You can use LED lights or HID bulbs.
Make sure the lights are not too close to the plants. If they start to curl or burn, move the light higher.
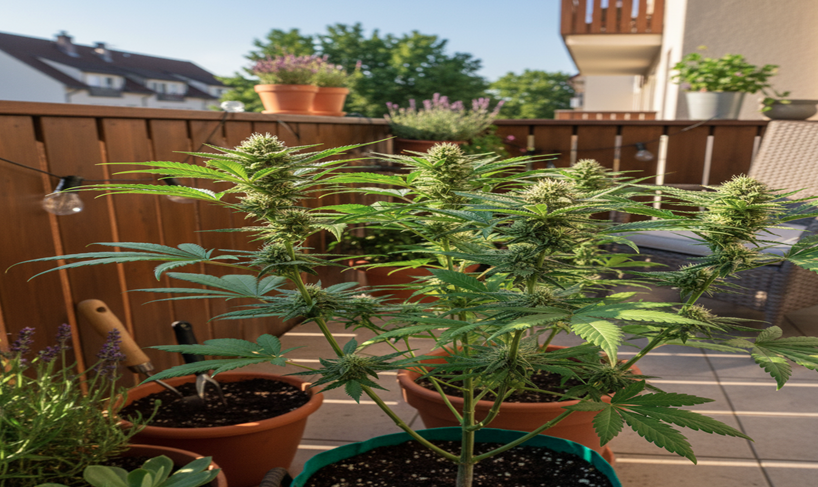
If you are lucky enough to grow outdoors, even better. Just find a spot with at least six hours of sunlight daily.
3. Temperature and Humidity
Cannabis plants like it warm but not too hot. Around 20–30°C during the day works well. A little cooler at night.
For humidity, keep it around 60–70% while the plants are growing leaves, then lower it to 40–50% once buds start forming. A cheap humidity meter can help a lot here.
The Growing Stage
When your seeds sprout, things start getting exciting. This stage is where they grow their body — the leaves, the stems, and the roots.
Watering can be tricky. People often give too much water, which can drown the roots. Check the soil with your finger. If it feels dry about an inch down, that is when you water.
Use nutrients but be gentle with them. The plant needs nitrogen, phosphorus, and potassium to grow properly. If you feed too much, the leaves can burn.
You can also prune or “top” your plants to help them grow wider instead of just taller. It helps them get more light and later, more buds.
The Flowering Stage
This is the part everyone waits for. The moment your plant starts showing small white hairs, you know it is in the flowering stage.
To help it along, you will need to change the light cycle to 12 hours on and 12 hours off. That trick makes the plant think the season is changing, so it starts making buds.
During this time, you need to reduce humidity a bit and make sure air is moving. A small fan helps prevent mold.
Keep an eye on your trichomes — those tiny shiny dots on the buds. When they turn cloudy or amber, your cannabis is getting close to harvest.
Harvesting Time
This is the best part of Evde Esrar Yetiştirme.
Cut the branches and trim off the extra leaves. Then hang them upside down in a dark space with airflow. This drying step takes about a week or two.
Once they feel dry to the touch, move them into glass jars. Open the jars once a day for the first week to let out any moisture. This part is called curing. It makes your cannabis taste smoother and smell better.
If you rush this step, your buds might taste grassy or harsh. Take your time. It is worth it.
Final Thoughts
So that is basically how Evde Esrar Yetiştirme works. It is not about being perfect. It is about learning what your plants need, adjusting when something goes wrong, and enjoying the process.
If you ever need more details, guides, or to chat with others doing the same thing, Tohumsuz Esrar has a bunch of information and people who actually grow at home too.
Just remember — patience pays off. The first grow might be small, but you will get better with each round.
If you want to start or learn more, check out Tohumsuz Esrar. It has all the basics and then some.
Happy
0 %
Sad
0 %
Excited
0 %
Sleepy
0 %
Angry
0 %
Surprise
0 %

More Stories
North 5000 Explained: What It Means and Why It Matters
In today’s rapidly evolving consumer markets, product identifiers and branding terms often carry more meaning than they appear to at...
THC Vape Selection Guide: 8 Expert Tips to Choose the Right THC Vape Pen
Why Choosing the Right THC Vape MattersWhen people research a THC vape, they often focus only on appearance or price....
Why Using A Smart Toothbrush Is Beneficial (The Real Reasons People Feel A Difference)
A smart toothbrush is one of those upgrades that sounds minor until you live with it for a few weeks....
THC Vape Pen Effects: What to Expect and How to Manage Them
Whether you are a first-time user or an experienced cannabis consumer switching to a new format, understanding the effects of...
How to Choose the Right THC Edibles for Your Lifestyle
With so many cannabis products available today, choosing the right THC edibles for your lifestyle can feel overwhelming. Whether you're...
Kenevir Tohumu Satın Al: How to Choose Cannabis Seeds and Shop Amsterdam Seedbank
If you are searching Kenevir tohumu satın al, you are usually trying to do something practical. You want seeds that...
Average Rating